


WONDERful Advice from a WW Guest Blogger
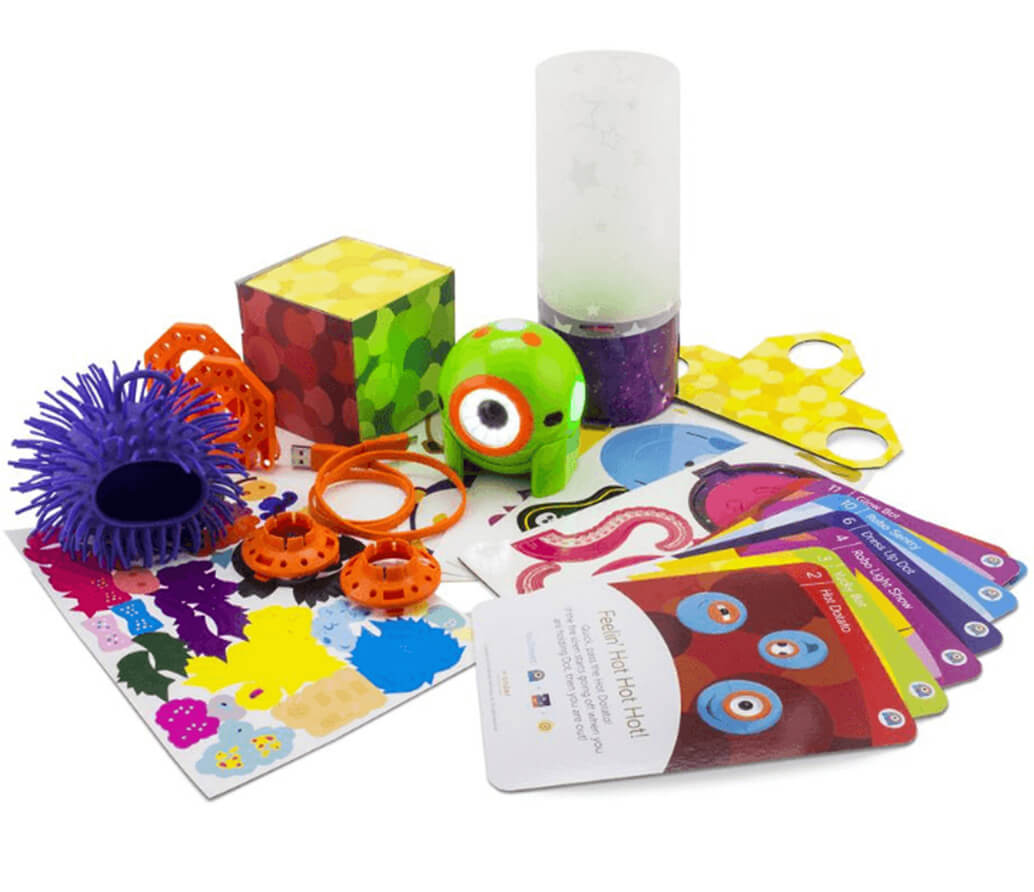
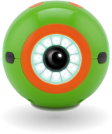
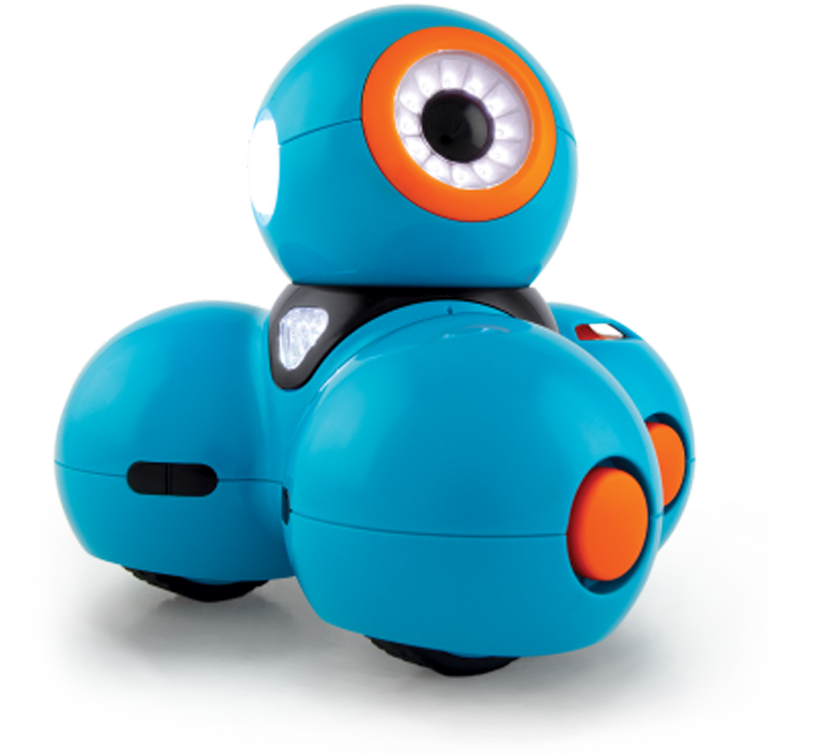
It’s that time of year again — the beginning of a new school year. It’s the perfect time to try something new. Why not introduce Dash and Dot to your classroom? But before introducing your students to these endearing blue robots, it’s important to set the stage for success and help make your classroom robotics ready!
Room Environment: First and foremost, you need to find a place to store and charge your robots. Dash and Dot fit well on a bookcase or on the shelves of a closet. However, make sure the location you choose has adequate ventilation and consistent heating and cooling, as extreme temperatures are not good for Dash and Dot. When choosing a storage location, it’s important to consider its proximity to an outlet. If you own more than three robots and don’t already own a charging station like the the one listed here, I suggest investing in one or more. A charging station allows you to charge several robots from one outlet. The USB connectors that come with Dash and Dot work well from a computer or a charging box like the ones used for smartphones, but the convenience of a charging station is well worth the additional cost!
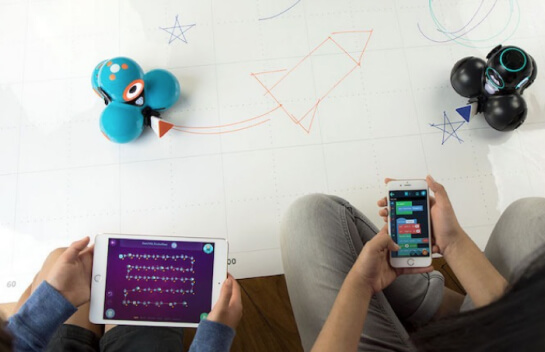
Naming the Robots: Once you have chosen a location for Dash and Dot, you need to get them ready for your students. First, download any of the five apps onto your classroom tablets: Go, Path, Xylo, Blockly, and/or Wonder. Once the apps are downloaded, you can name your robots! Click the + icon within any of the apps to sync a specific robot to a device. (Hint: turn on just one robot at a time when renaming!) Then click the orange button to assign the robot a new name and color. Using a permanent marker, write the unique name on a piece of painter tape, and stick it on the robot for easy identification. Doing so will ensure that the students are able to find their robot within a group of others. For younger students, you may want to name and label the robots prior to using them in a lesson so that students will know to which robot their device is paired. Older students will love naming their own robots as part of a first lesson!
Care & Maintenance: Finally, help your students learn to care for Dash and Dot. The robots may look and act like toys, but they are valuable educational resources and deserve a long life! In order to keep these robots in tip-top condition, take the time to teach your students your expectations for care and handling of the robots. You may want to post Wonder Workshop’s tips. Tie these tips into a whole group lesson, and applaud those who show gentle loving care. As students demonstrate their proficiency, gradually reduce your supervision.
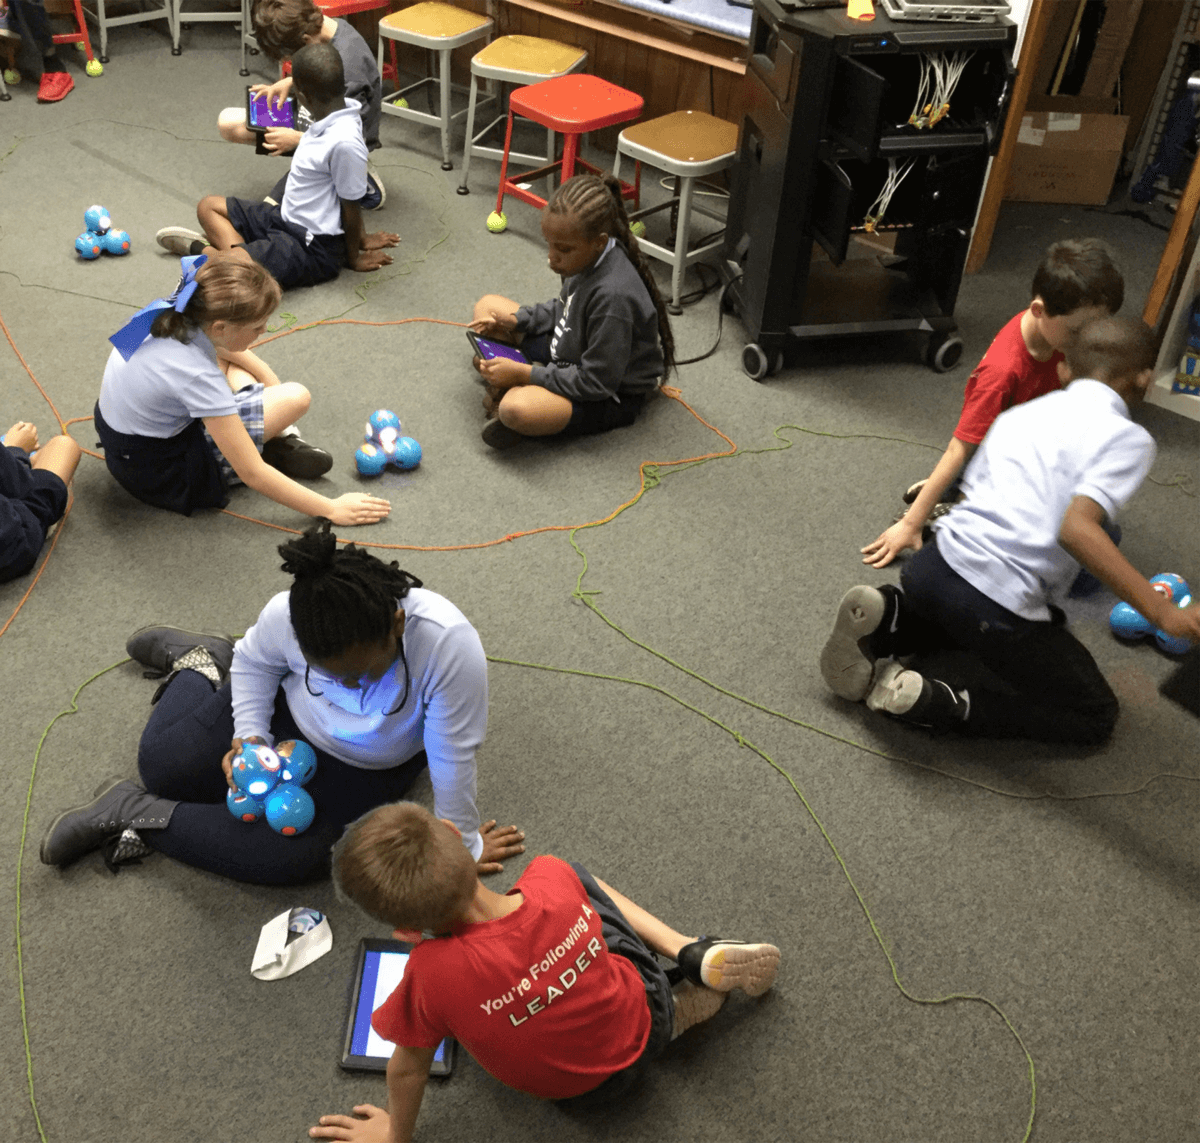
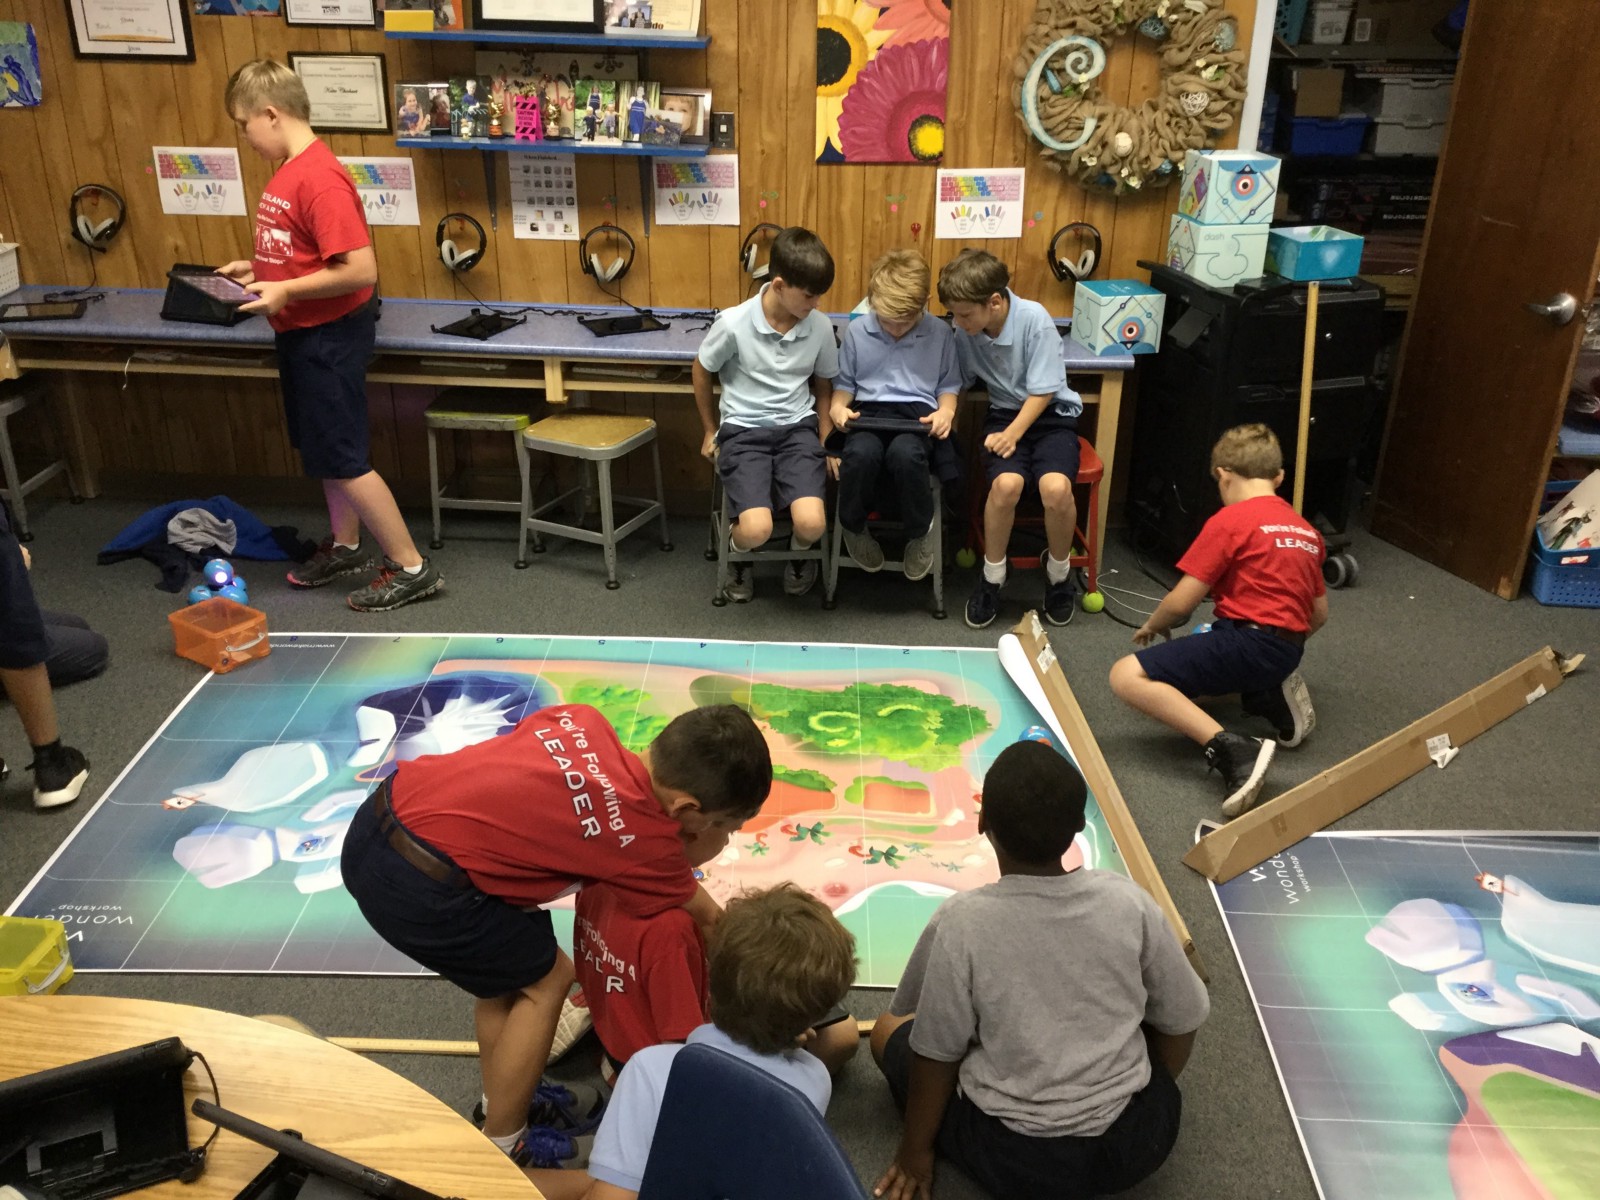
Roles & Responsibilities: For the best results, I recommend putting students in groups of two or three and assigning roles to each student. Roles might include but are not limited to: the Programmer, the Robot Wrangler, and the Documentarian. Official-sounding, right? TheProgrammer gets to program the robot, but s/he will want to listen to the ideas of the group. The Robot Wrangler brings the robot back to the starting location at the end of each test run. And the Documentarian records the group work on paper or in a digital journal. Rotate these jobs so that each child has a chance to practice the different responsibilities. In my classroom, we rotate jobs every time a program’s “PLAY” button is pressed.
Dash and Dot bring engagement and fun wherever they go. They are a perfect addition to any classroom. And back-to-school is the perfect time to prepare your classroom to be “robotics ready”!
*Katie Chirhart is an iPad Lab teacher in Shreveport, LA.


 Please wait while you are redirected to the right page...