A Brand-New Drawing Accessory for Dash & Cue CleverBots
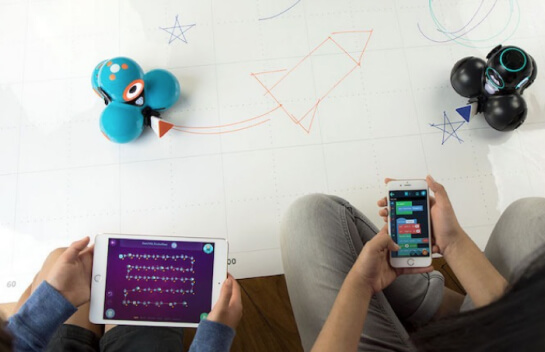
We are thrilled to launch our first accessory in three years, Sketch Kit for Dash and Cue! Sketch Kit encourages kids to write, draw, and innovate with our robots, bringing together coding and creativity. As our founder and CEO, Vikas Gupta, says:
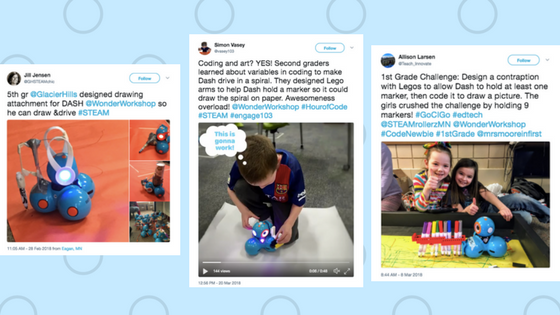
“Sketch Kit brings an entirely new experience to Dash and Cue robots, and we are excited to see the masterpieces coded by children. We were inspired by the creativity of children around the world experimenting by attaching markers with various homegrown contraptions to Dash and Cue robots. We hope the freedom unlocked by Sketch Kit will, in turn, inspire young inventors and creators around the world.”
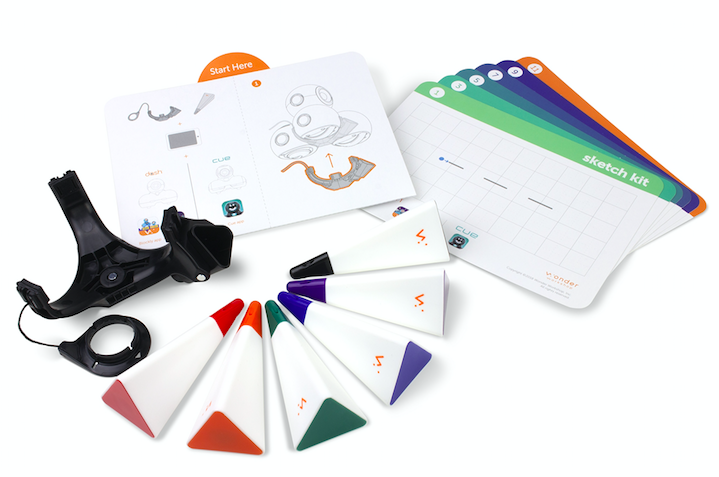
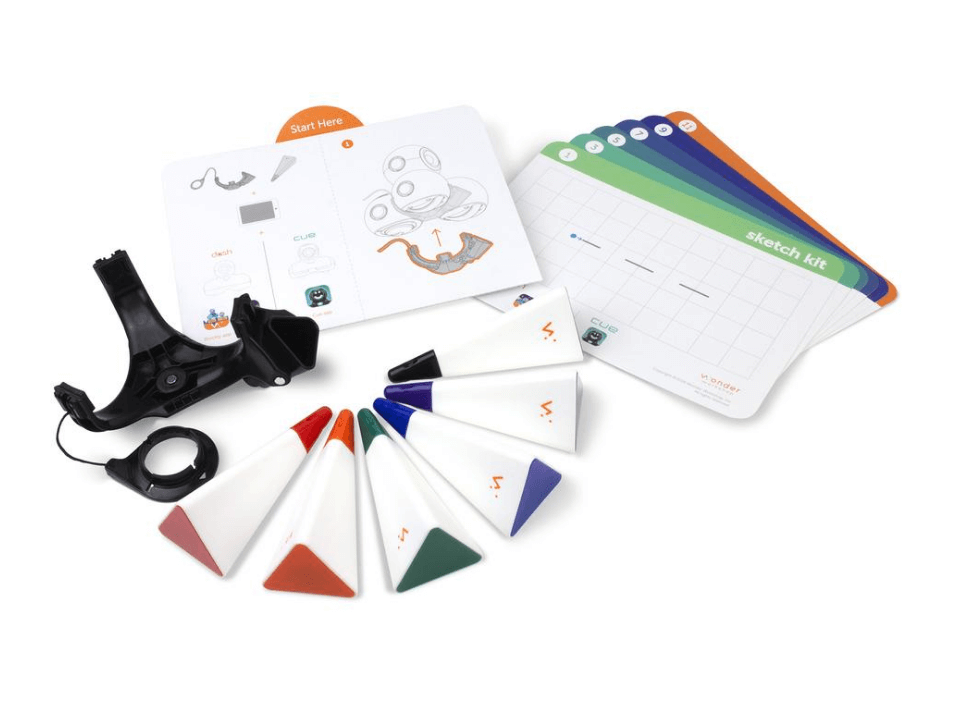
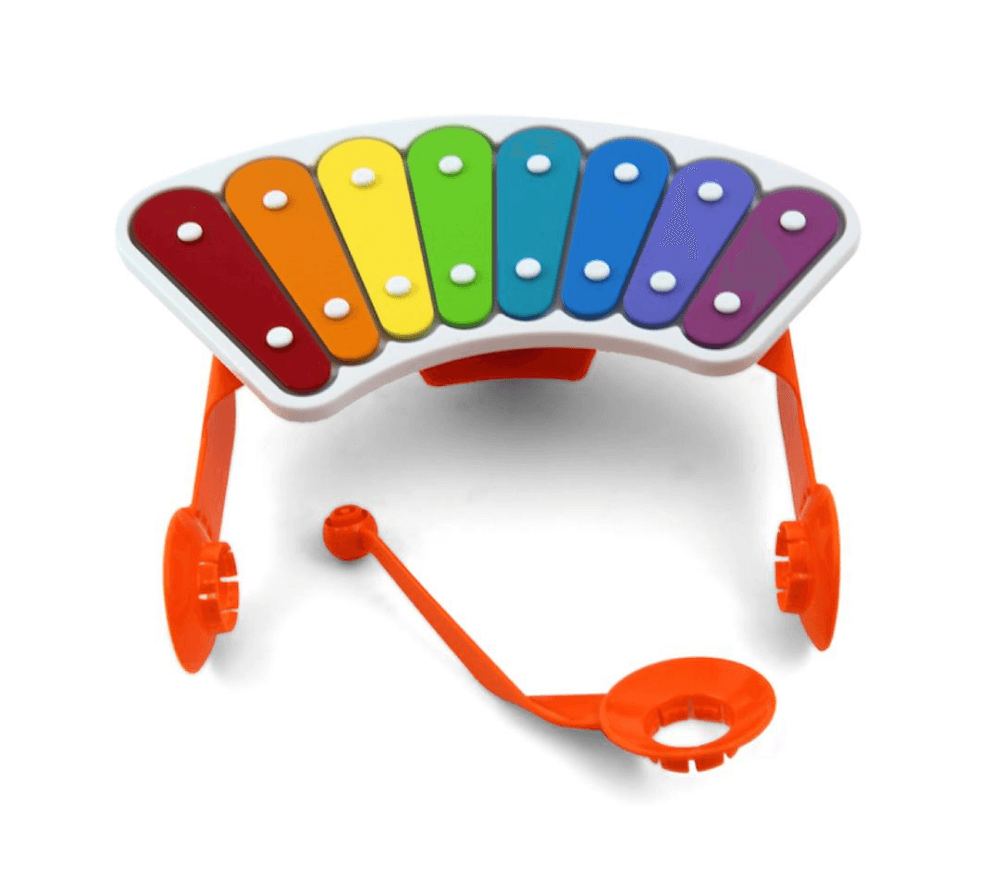
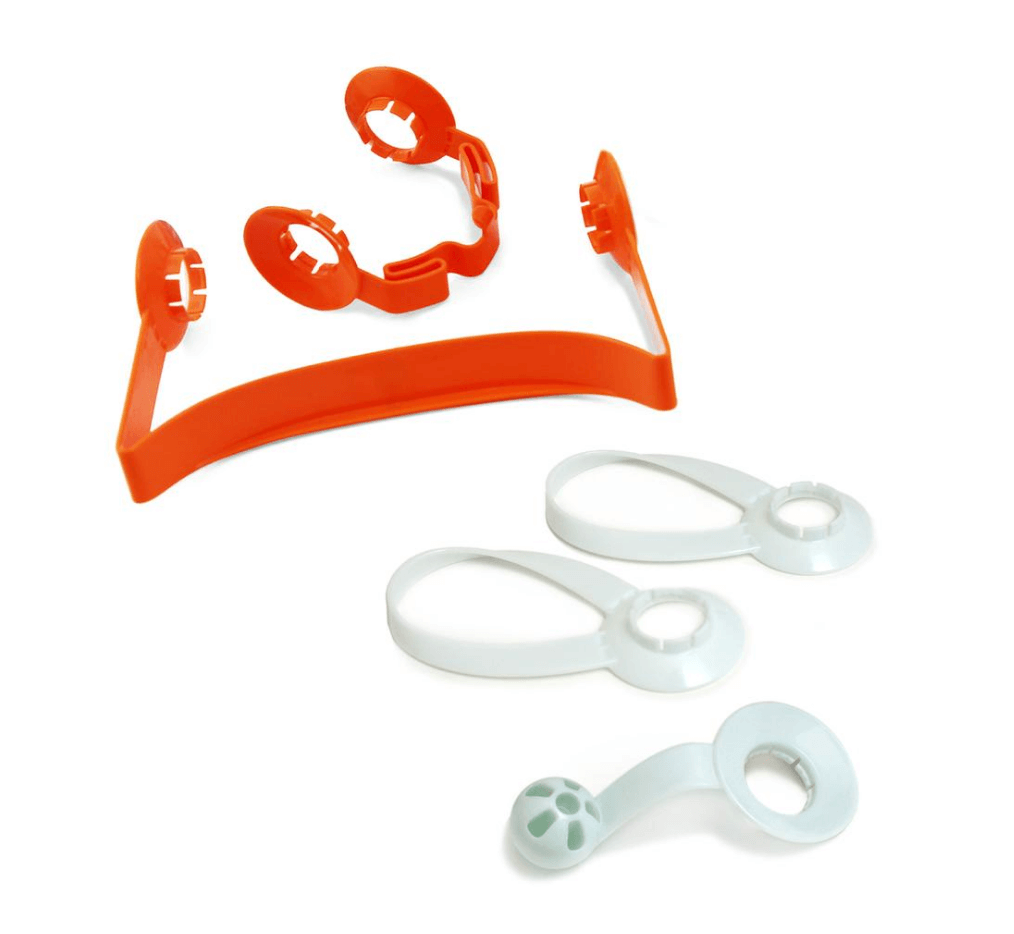
You can purchase the Sketch Kit for $39.99 — this includes six colored markers, the marker harness for the robots, and 10 project cards. The Wonder Whiteboard Mat is $99.99, or you can purchase the Sketch Pack for the discounted rate of $129.99 — this includes the Sketch Kit + the Wonder Whiteboard Mat!
Here are some simple steps to get you started:
- Go to the app store and download the latest version of our apps: Blockly 2.10.0, Wonder 1.12.0, or Cue app 1.3.
- Turn on your robot and pair it to your device.
- Roll out the Wonder Whiteboard Mat.
- Snap the black harness on the bottom of either Dash or Cue. Attach the ear piece, with the arrow pointing directly up.
- Take the cap off one of the six whiteboard markers, and snap the marker into the front triangular holder. Note: Keep track of those marker caps!
- Open up a new program within your chosen app. Use the new MARKER UP and MARKER DOWN commands found in the “Accessories” drawer (lefthand menu) to create your program. Note: The marker defaults in the MARKER DOWN position.
- Place your robot with Sketch Kit and the marker on the Wonder Whiteboard Mat and try any of the 10 Sketch Kit project cards. Create a square, heart, happy face, or a design of your choice.
During our classroom testing, we learned some great tips and tricks from teachers and students:
- Consider keeping your Sketch Kit box for easy storage of the six markers, Activity Cards, and Wonder Whiteboard Mat eraser.
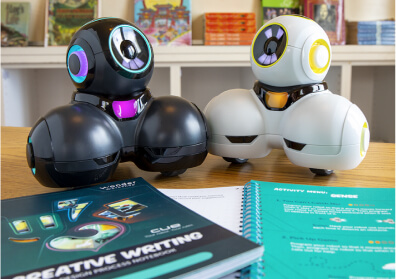
- Draw an alignment mark on the side of Dash’s or Cue’s head to guide students to line up the ear piece correctly. The robot’s head movement is what moves the marker up and down.
- Keep track of those little marker caps, and remember to cap the markers securely when students are done so that the markers won’t dry up. You could challenge students to create a marker cap holder for Dash or Cue using the Building Brick Connectors and LEGOs.
- The whiteboard markers work best … on a whiteboard! Our Wonder Whiteboard Mat ($99) has a 10×5 grid of 20 cm squares. The mat is magnetic! And three robots can easily can fit on one mat at a time. The mat rolls up for easy storage, too.
- Remember to clean your whiteboard mat after each use so that you don’t have marker ghosting. Dry erasers, cloth, or soft tissues work best for cleaning this surface. Wet wipes can be used, but make sure the mat is dry before the robot begins drawing to avoid ink smudges.
- There is a blank Sketch Kit Activity Card. Photocopy this card and have students create their own design challenges for one another.
- Preview the brand-new Sketch Kit lesson plans, found in our site’s Lesson Library: Introduction to Sketch Kit, Using Sketch Kit with Dash: Robot Code Breakers, Using Sketch Kit with Cue: The Geometry of Mandalas
- While creative expression inspires abstract designs, consider cross-curricular connections around letter recognition, geometric shapes, angle measurements, spelling, mapping data, grids, and coordinates.
Find more FAQs on our site, and be sure to watch our recent webinar on Bringing Creativity to STEAM with Drawing and Coding (59:40). You can read more from our CEO, Vikas Gupta, in his blog post, Introducing Sketch Kit: Art that’s drawn by robots, programmed by you.











 Please wait while you are redirected to the right page...