


October 11, 2018: UPDATED FOR YEAR 4
Buy It, Print It, Make It!
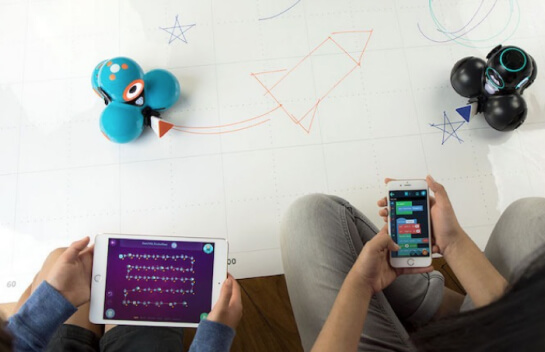
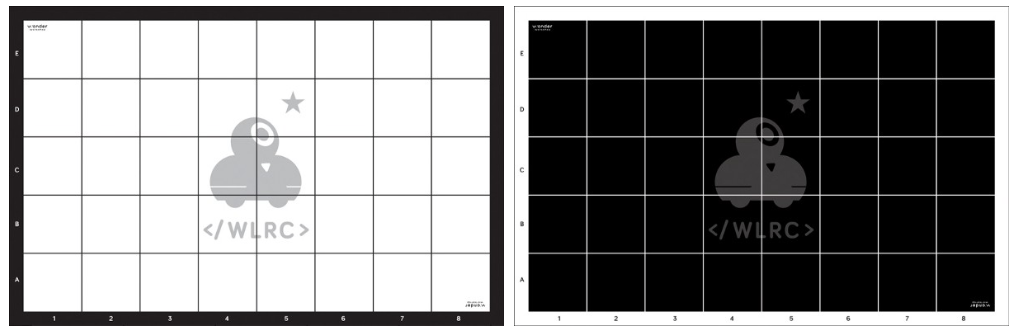
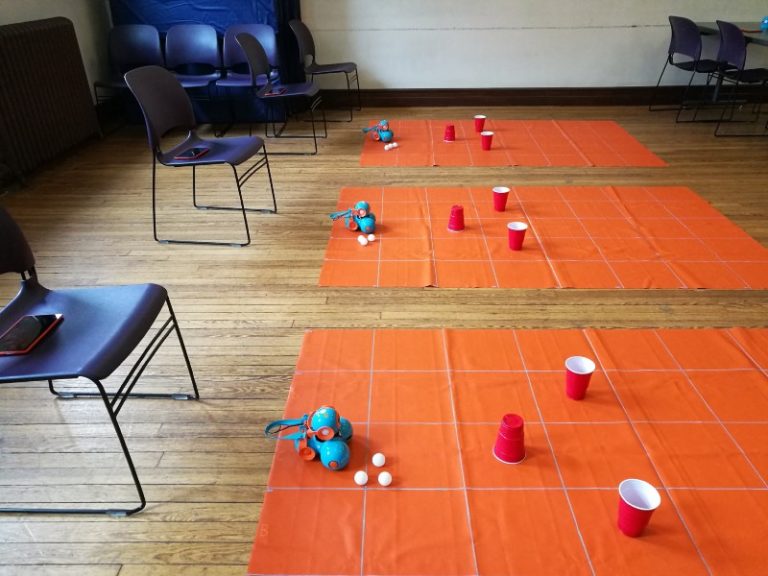
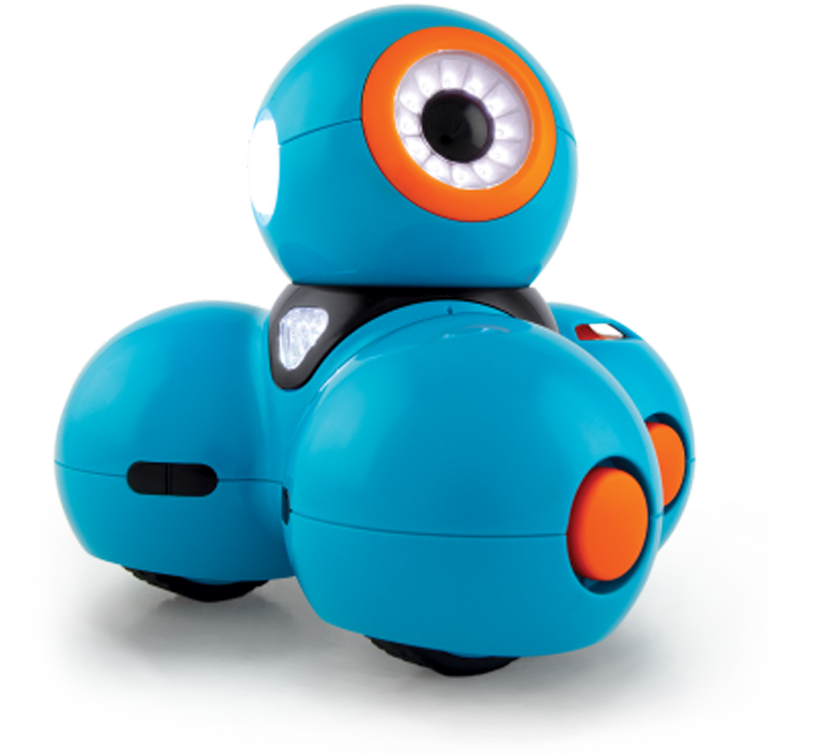
The Wonder League Robotics Competition (a.k.a., WLRC) is launching again— and we mean literally, as this year’s theme takes Dash, Dot, and Cue to … well, you’ll have to wait to see this year’s theme at launch on October 11, 2018. In order to set the stage for all three missions, your teams will need a 5 x 8 square grid Wonder League mat with the following specifications:
- sized 150 cm x 240 cm (think landscape format)
- Y-axis is labeled A-E and X-axis is labeled 1–8
- Cell A1 is in lower left-hand corner
- Dash/Cue needs to be able to roll across and not have anything interfere with its wheels
Due to popular demand, we do have a themed Wonder League mat for purchase this year! This year the themed mats will be sold by Robotmat.com, a third-party vendor. Robotmat.com has the themed mat, a non-themed generic mat, and even a chroma-key green background version for sale — can you say green screen (check out this video based on #WLRC coach Mrs. Eckstein’s idea from last year.
Do know that you can use any of the Wonder League mats from previous years — the dimensions are the same. For those of you in need of a new mat, there are three basic options:
OPTION 1: BUY ONE: Check out the Wonder League mat options at Robotmats.com. Just note: Robotmats.com is an independent party; we are not responsible for any issues with the design, quality, or shipping.
OPTION 2: PRINT ONE: We also are providing our coaches with a digital image of the mat (click on link for files) in two colors: black or white. If you want to print this file, you will need to find a sign or banner printer — check out retailers like Staples, Office Depot, FedEx/Kinko’s, Vistaprint.com, Signs.com or Esigns.com, which has a self-print option. You’ll need to tell them that you have:
- a black and white “.eps file”
- an image that is 165 cm x 255 cm (accounts for 7.5-cm border)
We recommend printing on 13 oz. vinyl — it will lie flat but can be rolled for storage. Other options for materials include 24 lb. paper (but do consider longevity needs) or foam board (but do consider space constraints).
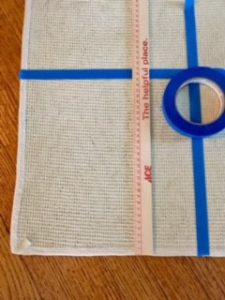
OPTION 3: MAKE ONE: We are big fans of this option! And we have seen so many do-it-yourself (DIY) ideas. If you have the space, you can use painter’s tape and create a grid on the floor or on a rug. Done!
We recently heard that one classroom teacher took her small 5 x 8 area rug, flipped it over, and created a grid on the back with painter’s tape. She created a two-in-one: a rug for class time and a grid for robot time!
Another floor option is to use painter’s tape to outline square tiles on linoleum floors, and then put the grid letters and numbers along the axises on Post-It notes. Who knew school hallways could be a robot stomping ground!
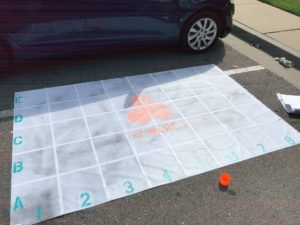
Many, though, want something that they can move because of lack of space. Options for a portable gridded mat include making one on a piece of vinyl, a plastic tarp, a drop cloth, or a shower curtain.
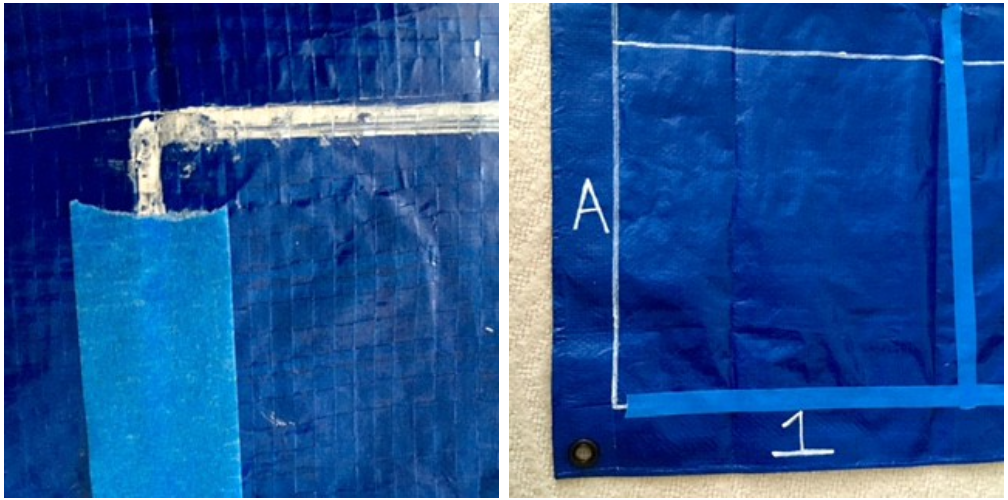
The total size of the grid should be 150 cm x 240 cm, which includes grid lines. So you can use a paint pen, Sharpie, or thin painter’s tape for the lines. If you’re using tape, just center it on the measurement hash marks. It’s up to you to decide if you want a border or not.
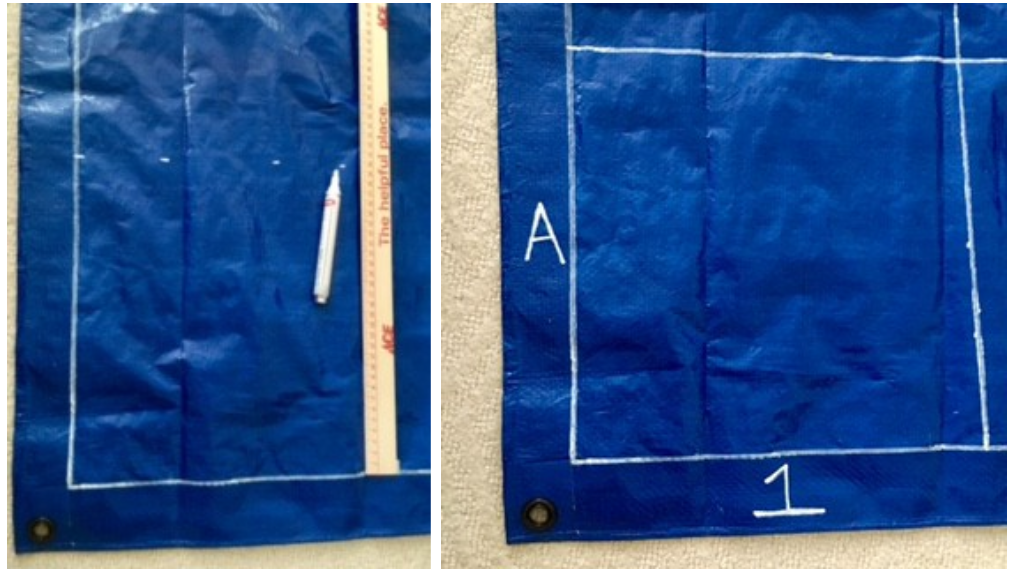
Used a yard stick (in cm), paint pen, and plastic tarp, and first created a squared-off border since the tarp wasn’t quite even on the edges. Then added hash marks to mark 30 cm horizontally and vertically as guides for the grid lines. Last, added A-E on y-axis and 1–8 label on x-axis (A1 in lower left-hand corner).
Coach Natalie Oberbeck recently shared this back-saving method for making a grid on a felt-backed vinyl tablecloth. She made a transparency out of the white mat image, and then projected it on the wall using an overhead projector. She then used a yard stick to trace straight lines on the tablecloth she taped to the wall (Natalie recommends getting a piece larger than the grid size to allow for “fudging”!)

Coach Joshua Jordan shared his method for creating economical mats made out of banner material. He outlined the following steps:
- Purchase a roll of banner material from US Cutter.
- Make a WLRC Stencil out of cardstock.
- Buy Letter and Number Stencils.
- Buy Spray Paint.
- Measure out 30cm squares and mark.
- Tape grid with 3/4″ masking tape.
- Go to town with spray paint! (I applied mist coats to everything to conserve paint and I really like the way it looks)
- (optional) Apply a light coat of plastidip to the back to prevent skidding.
We also found this tutorial online from a U.K. coach: http://www.techagekids.com/2016/09/wonder-league-robotics-competition-diy.html.
Have fun embarking on this Wonder League Robotics Competition journey with your teams, Dash, Dot, and Cue! And share your photos with our community on Twitter @WonderWorkshop using the hashtags #WonderLeague and #WLRC.
You can register now for this year’s WLRC, kicking off on October 11th. The registration window stays open through until December 31, 2018, so sign up as a coach today and add your teams once formed!


 Please wait while you are redirected to the right page...